Upload / Capture
Want to improve your running form, core strength and stability? These six plank pose variations will help you become a better runner.
Yoga instructor, ultrarunner and WeeViews ambassador Brynn Cunningham shows you how it's done.
You’ll find it in:
Needless to say, when it comes to core strength, plank pose takes the cake.
In Core Workout for Running: 8 Yoga Poses for a Stronger Core, we learned that the core is comprised of:
They are best practiced within a body or weight-based strength routine, such as yoga.
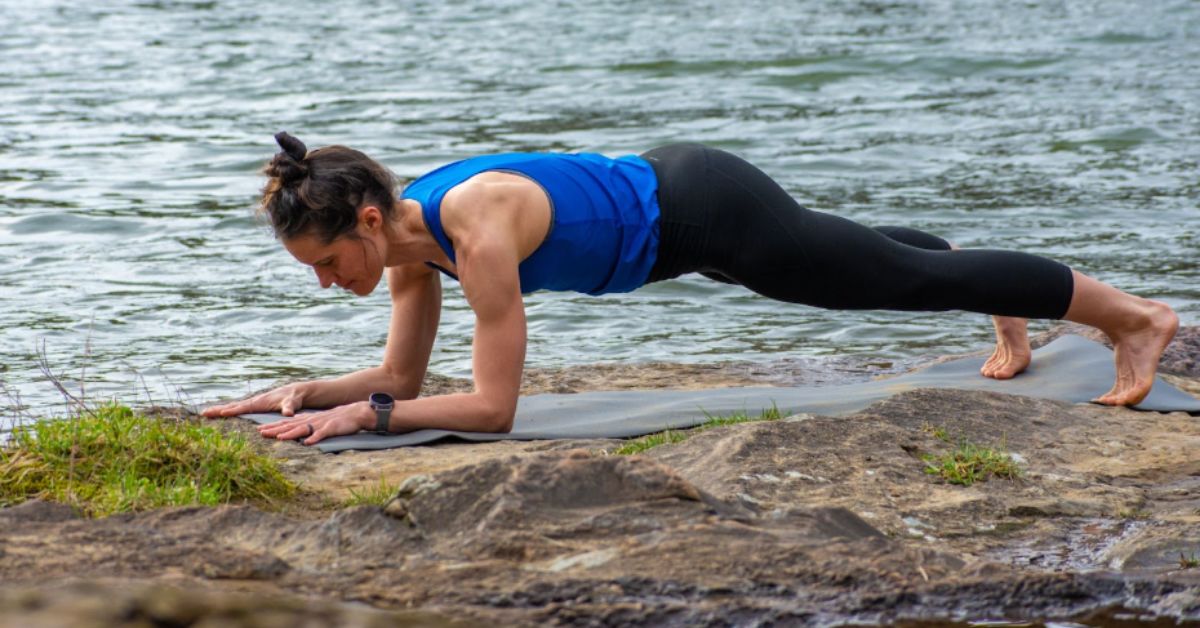
Instructions:
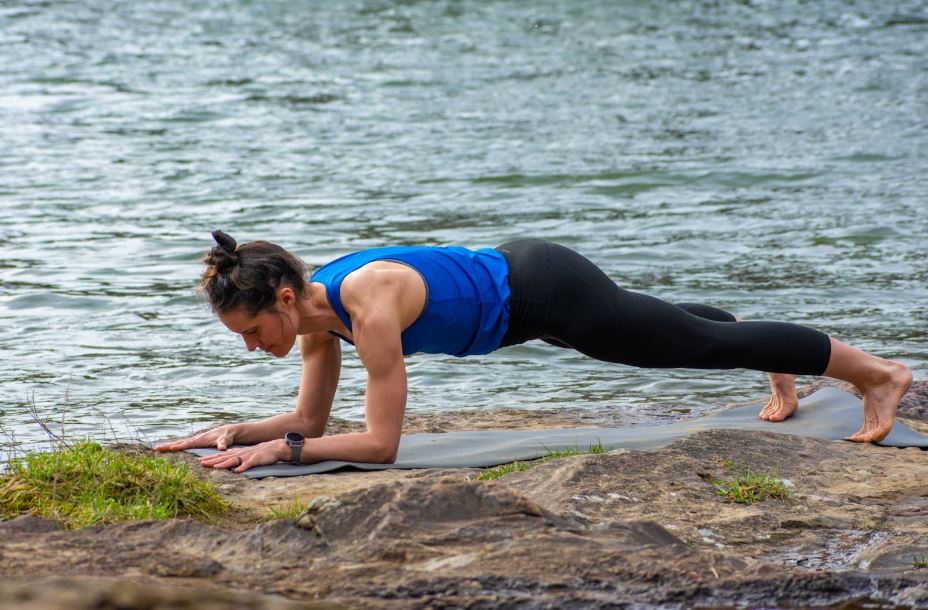
Instructions:
Instructions:

Instructions:
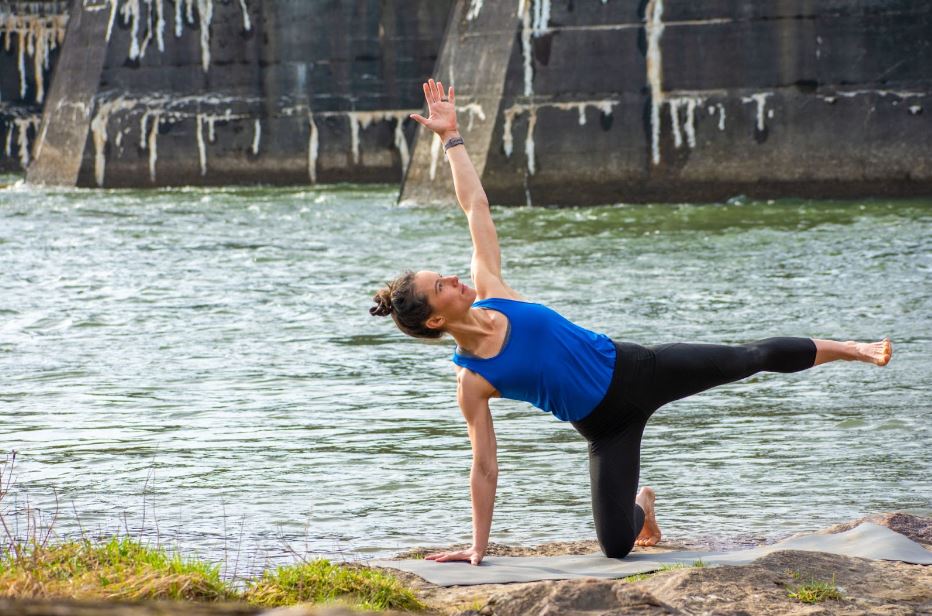
More push-up power

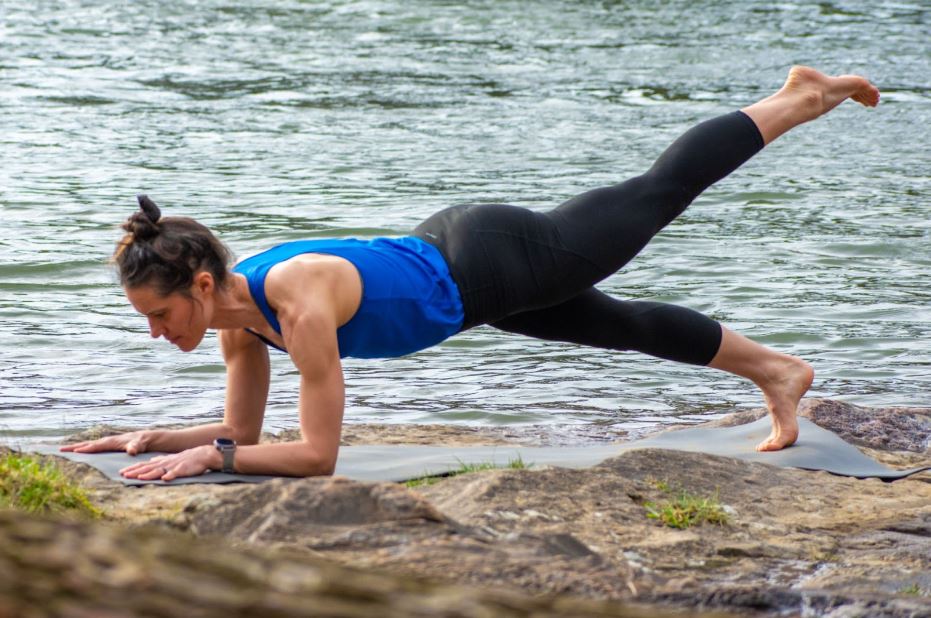
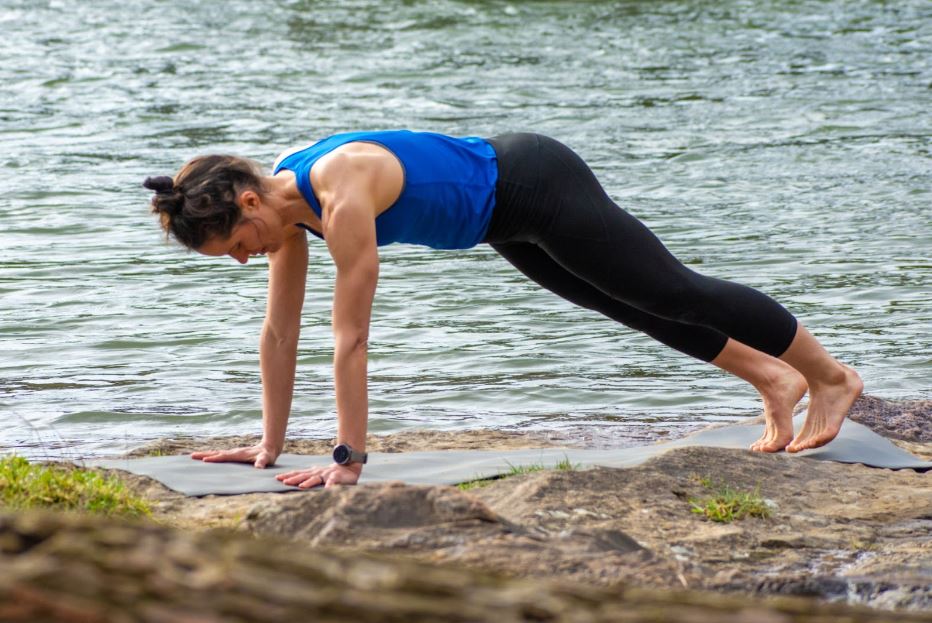
Instructions (photo one):
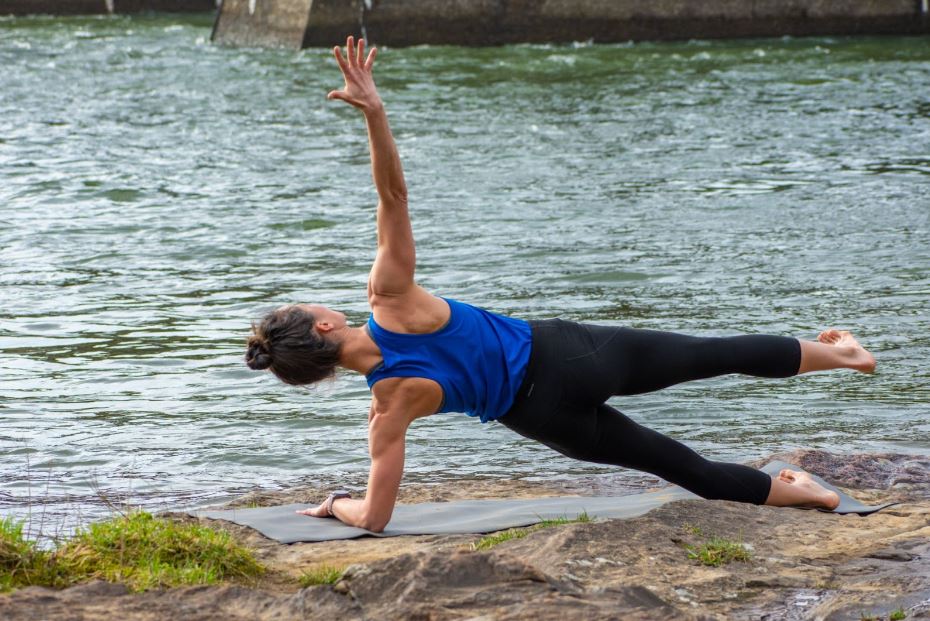
If you can hold the supported version (photo one), try the lifted leg version (photo two)
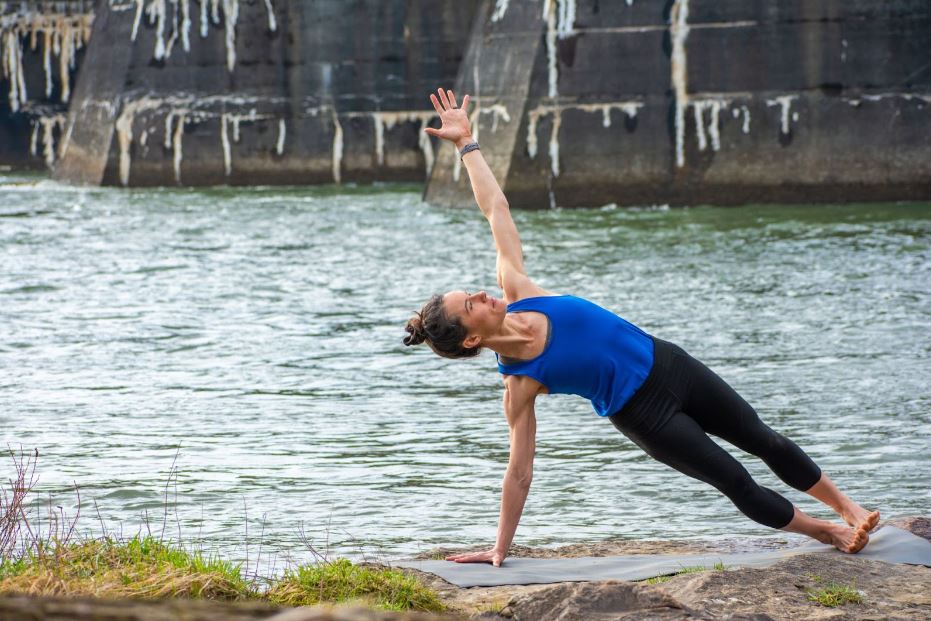

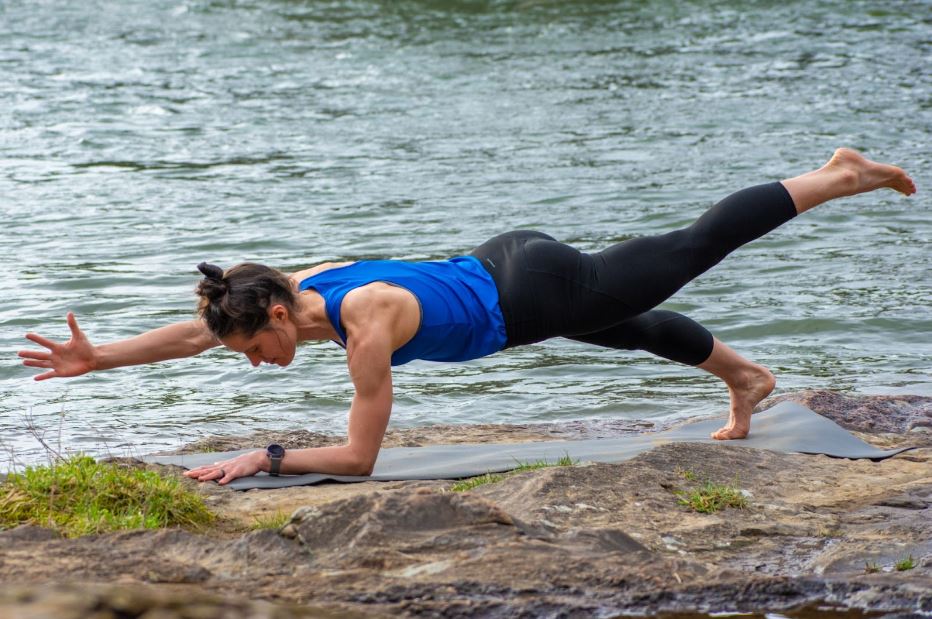
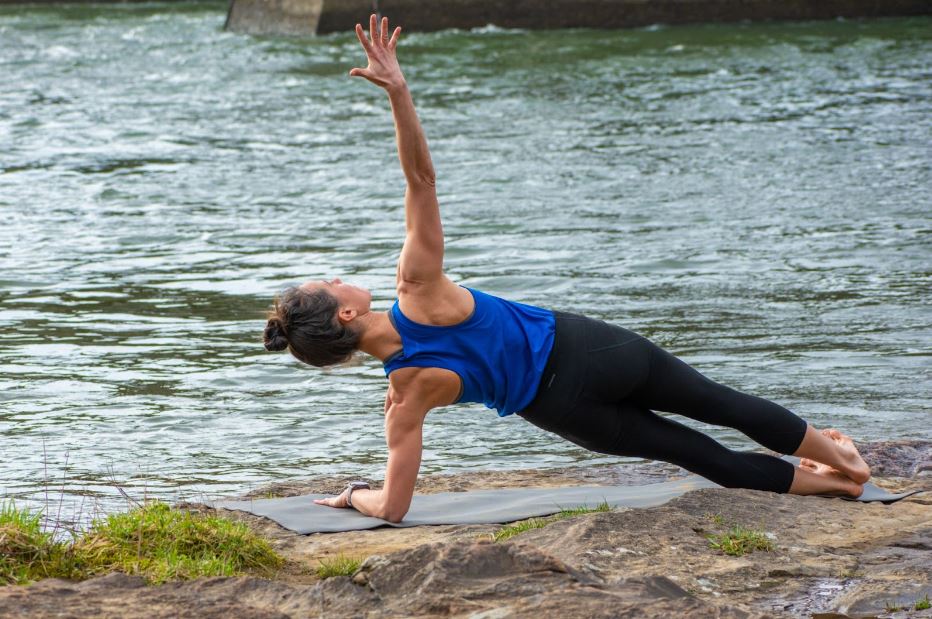
Instructions (photo one):
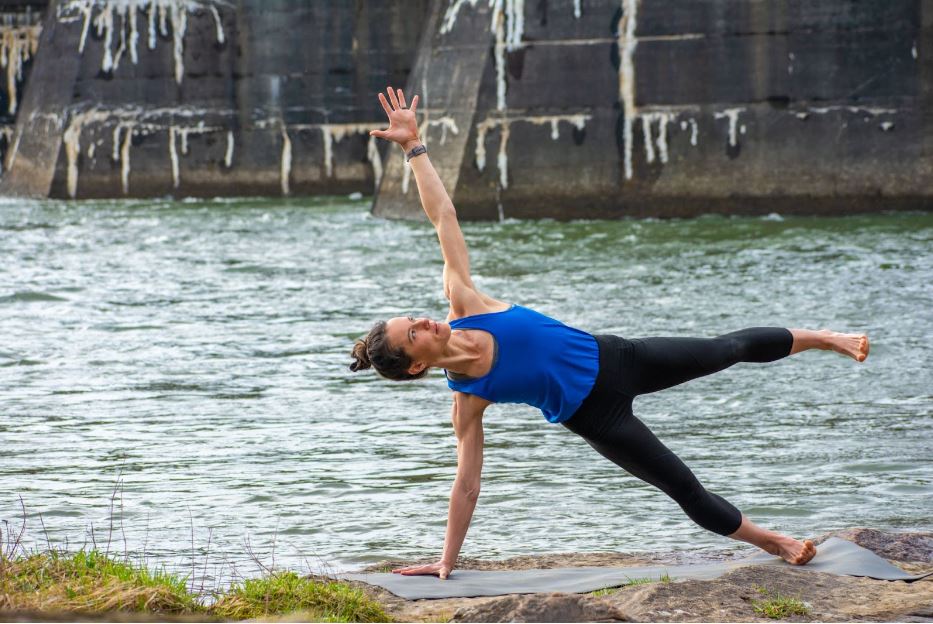
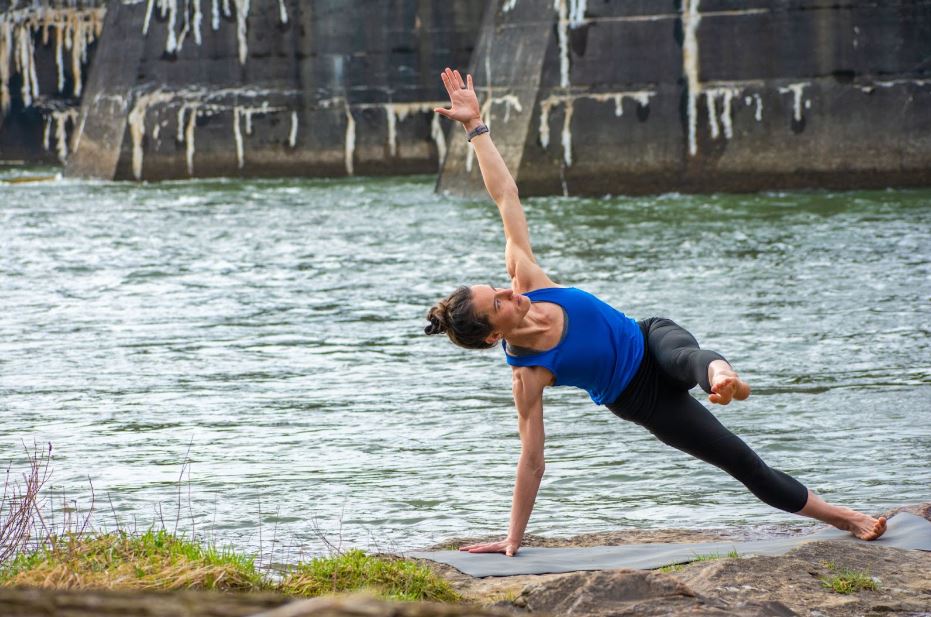
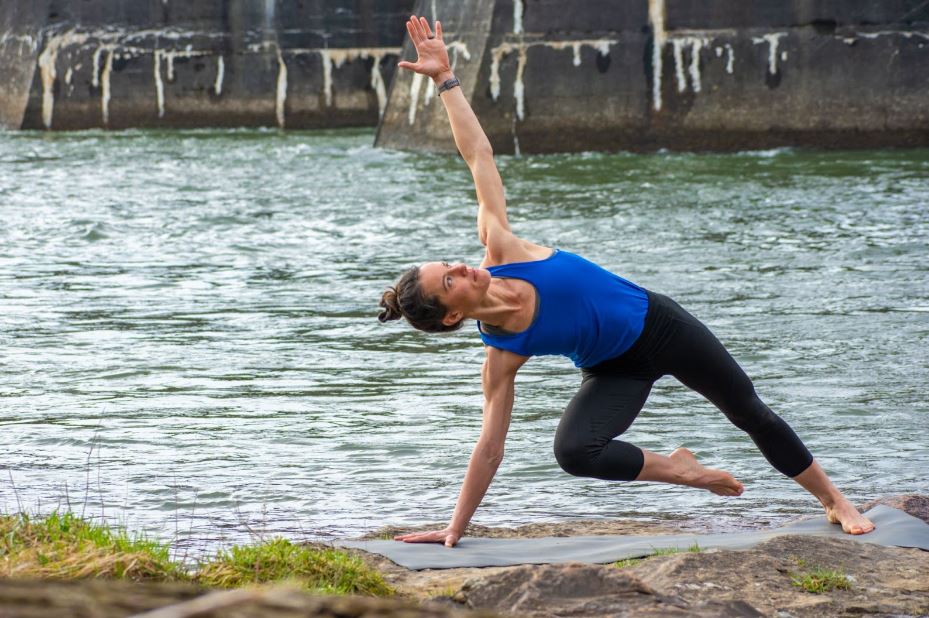
If side plank pose is easy, try the following with different leg variations for more challenge:
Brynn Cunningham received her 230-hour yoga teacher training certification from Asheville Yoga Center and has been teaching yoga since 2011.


Login to your account to leave a comment.


We Want to Give it to You!