Upload / Capture
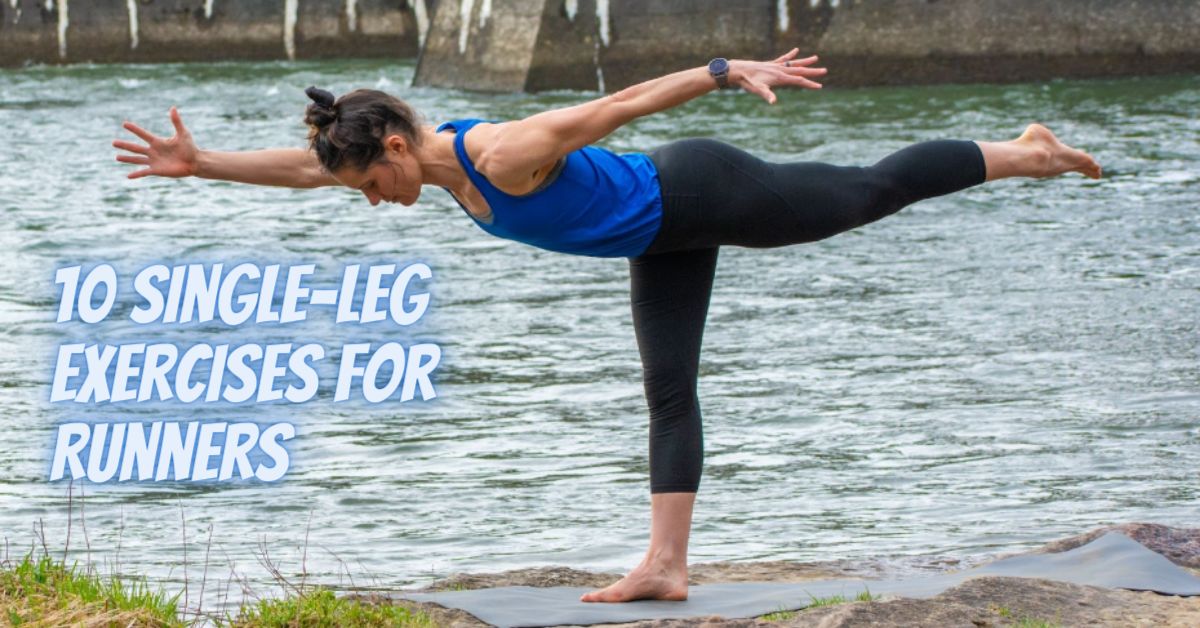
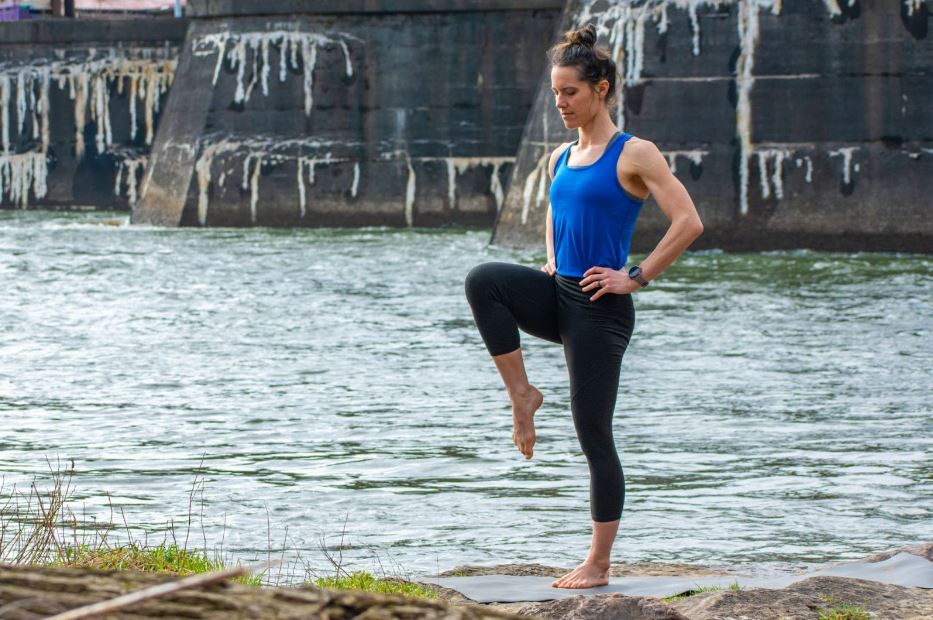
Can single-leg exercises help runners improve strength and balance and boost performance?
After all, running is a single-leg activity.
Running uses two legs, right?
Yes.
However, as we run...
🦶 One of our feet is moving through space...
🦶 While the other foot is planted on the ground.
🦶 Sometimes both feet are simultaneously in the air...
🦶 While neither one is rooted as one propels and one sets up for its landing.
In this way, running can be described as a single-legged activity, perhaps even as a series of forward-moving jumps.
When we understand running in this light, the importance of strengthening and balancing our:
Using single-leg exercises in order to translate the gained power and stability to running becomes clear.
Within power, flow and vinyasa yoga classes, and some hatha classes like Bikram and Iyengar, a balancing series is almost always taught partway through class.
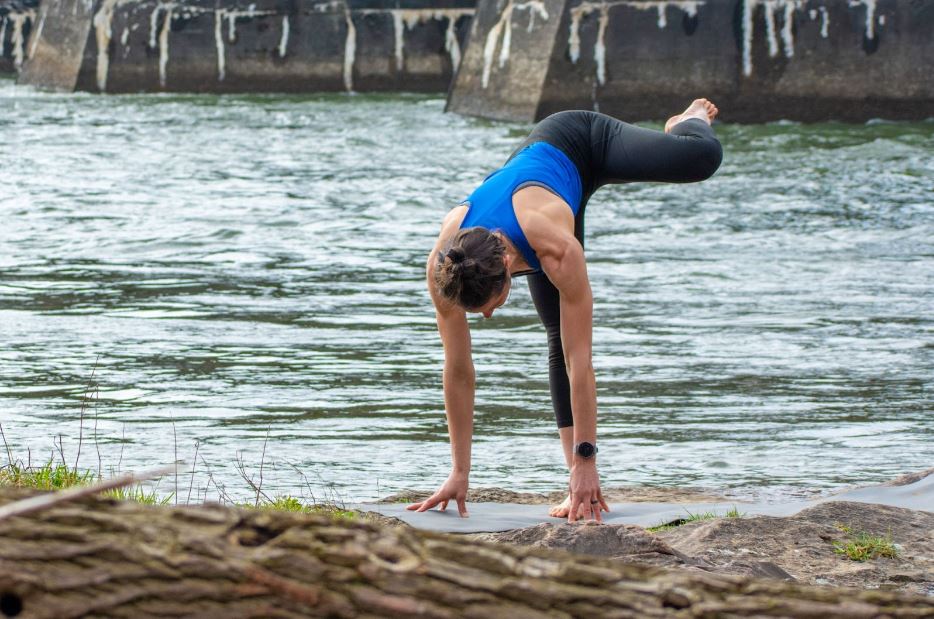
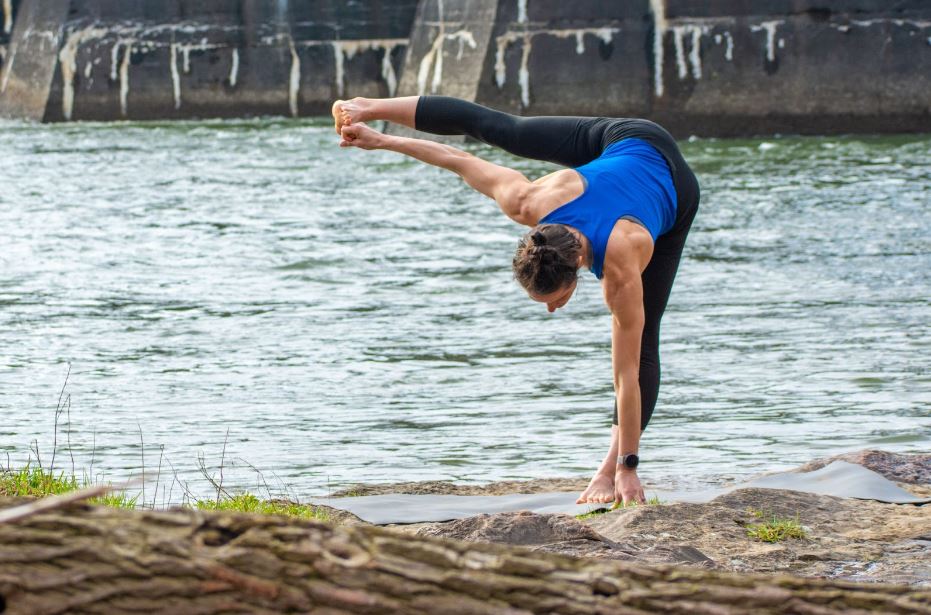
This article outlines 10 practical and transferable single-leg yoga poses for runners.
When to practice the poses
They can be completed as stand-alone exercises, but they are best practiced after a yoga warm-up and before a cool down.
Warm-ups can include yoga salutations such as these:
If doing the poses before a run, and you want to skip the sun salutations, try jogging for a few minutes prior to doing the single-leg poses to prime the body.
If doing the poses after a run, slowly jog around to bring the heart rate down and get the breathing under control, do a few of the above sun salutations, and then start on the balancing poses.

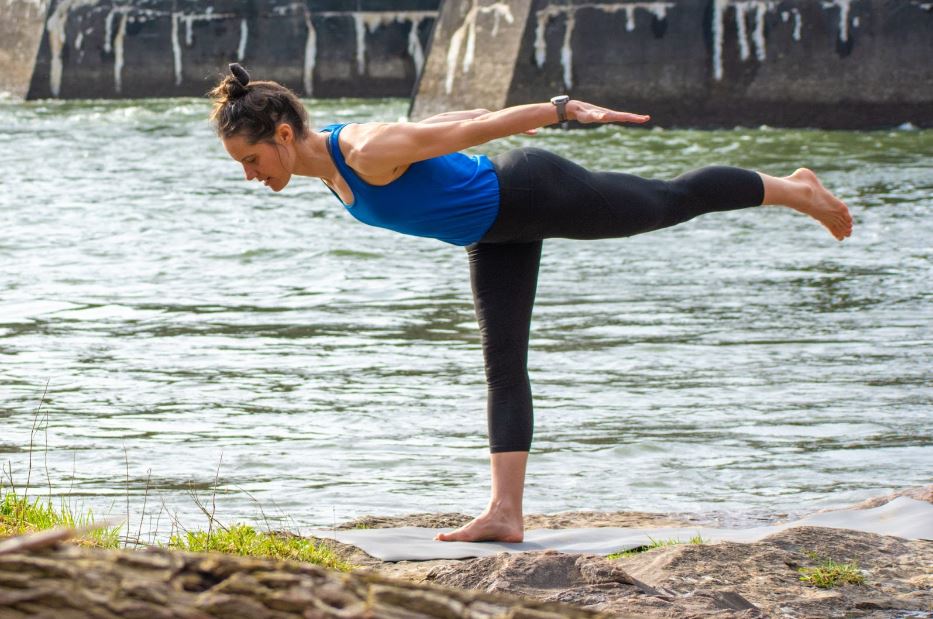


Instructions
Within each version:
Benefits:

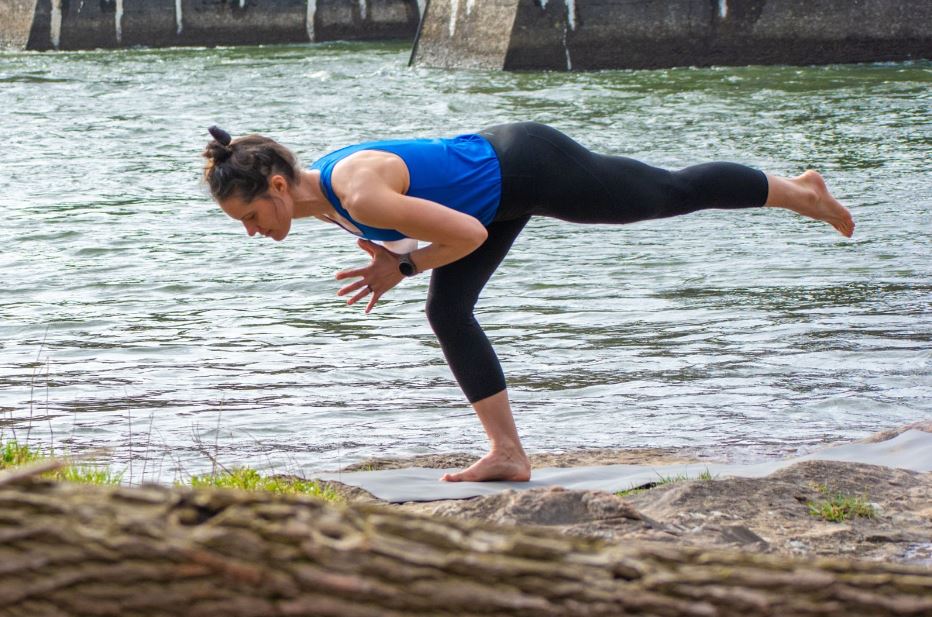
Instructions
Benefits:

Instructions
Benefits:
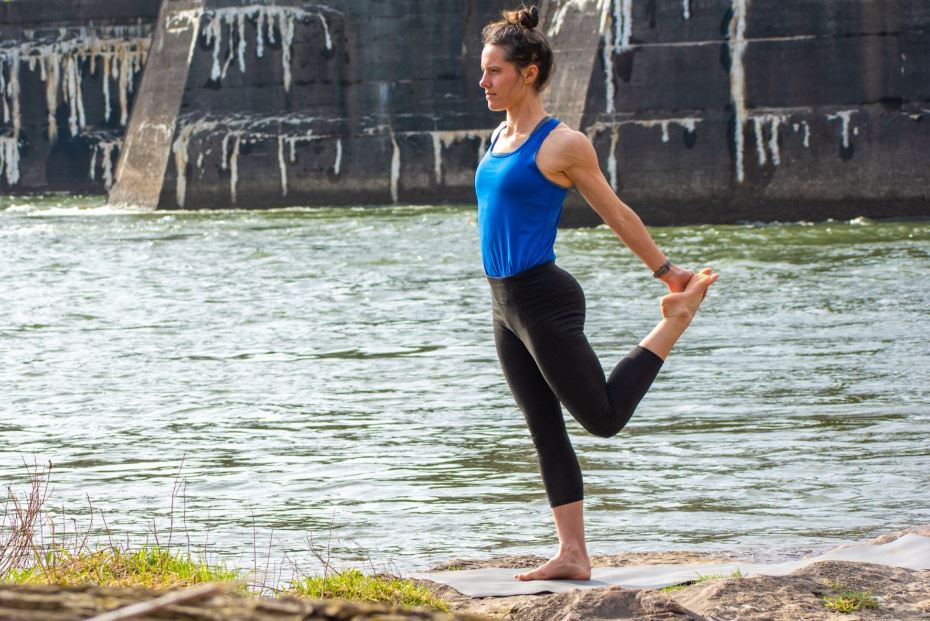


Instructions
Benefits:

Instructions
Within each version:
Benefits:

Instructions
Benefits:

Instructions
Benefits:


Instructions
Benefits:

Instructions
Benefits:

Instructions
Benefits:
Brynn received her 230-hour yoga teacher training certification from Asheville Yoga Center and has been teaching yoga since 2011.


Login to your account to leave a comment.


We Want to Give it to You!