Upload / Capture
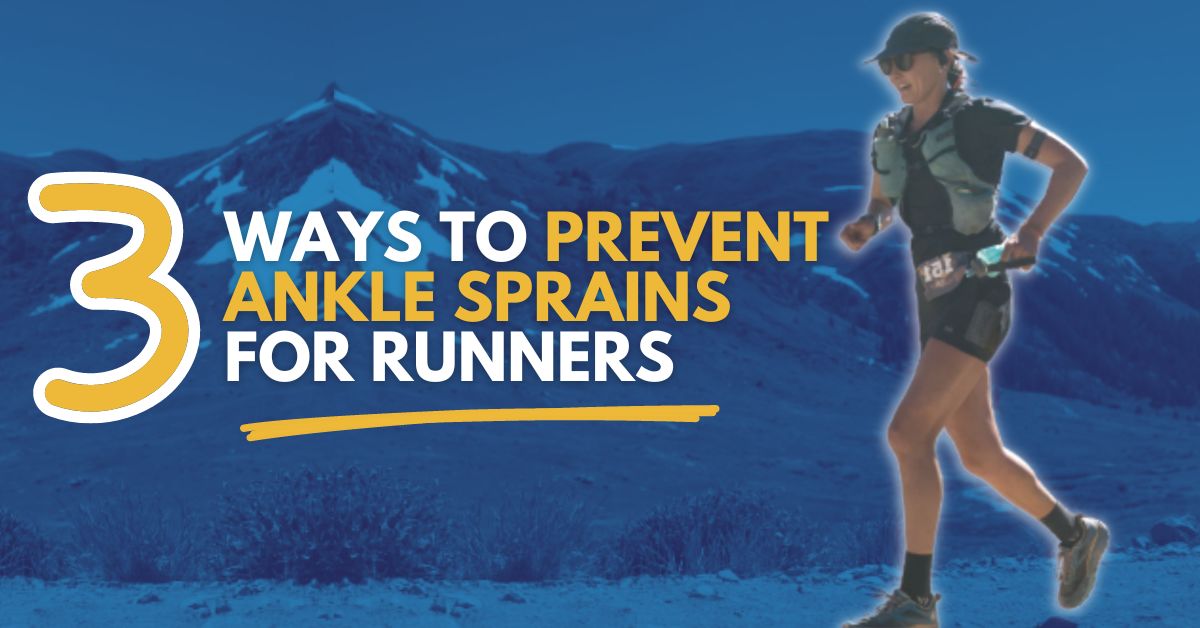
Want to learn how to prevent ankle sprains?
.
😀If you like running, you know an ankle injury can force you take a break from the thing that you love.
.
🏃♀️Run enough road or trail miles, and chances are pretty good you're going to encounter a stumble-and-fall-and-roll-your-ankle situation.
.
🦶So how do you prevent ankle sprains?
.
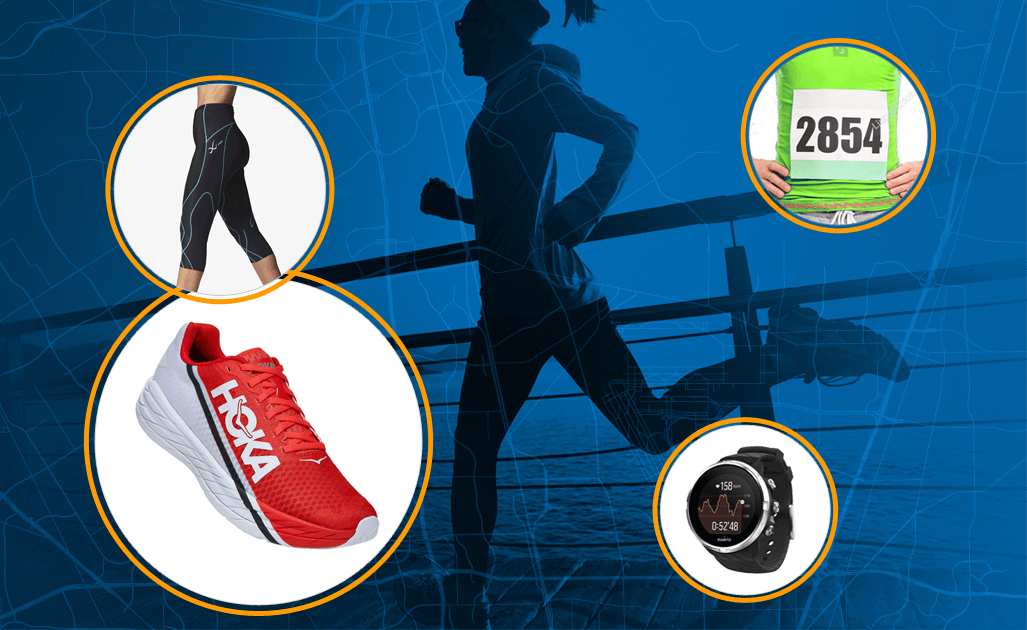
✅Check out these THREE essential tips from runner, coach and WeeViews Ambassador Abby Lock to build ankle stability, strength and balance to keep going.
😀Picture this: you’re out for a lovely trail run on a crisp fall morning.
.
The sky is clear, the sun is shining, and the canopy of leaves above are brilliant hues of red, orange, and yellow.
.
There’s a new, thin blanket of fallen leaves covering the trail and beneath it, roots and rocks studding the path before you.
.
As you pick up the pace, relishing the cool air in contrast to the sticky summer heat that you’ve been slogging through over the past several months, your attention drifts to matters of the mind.
.
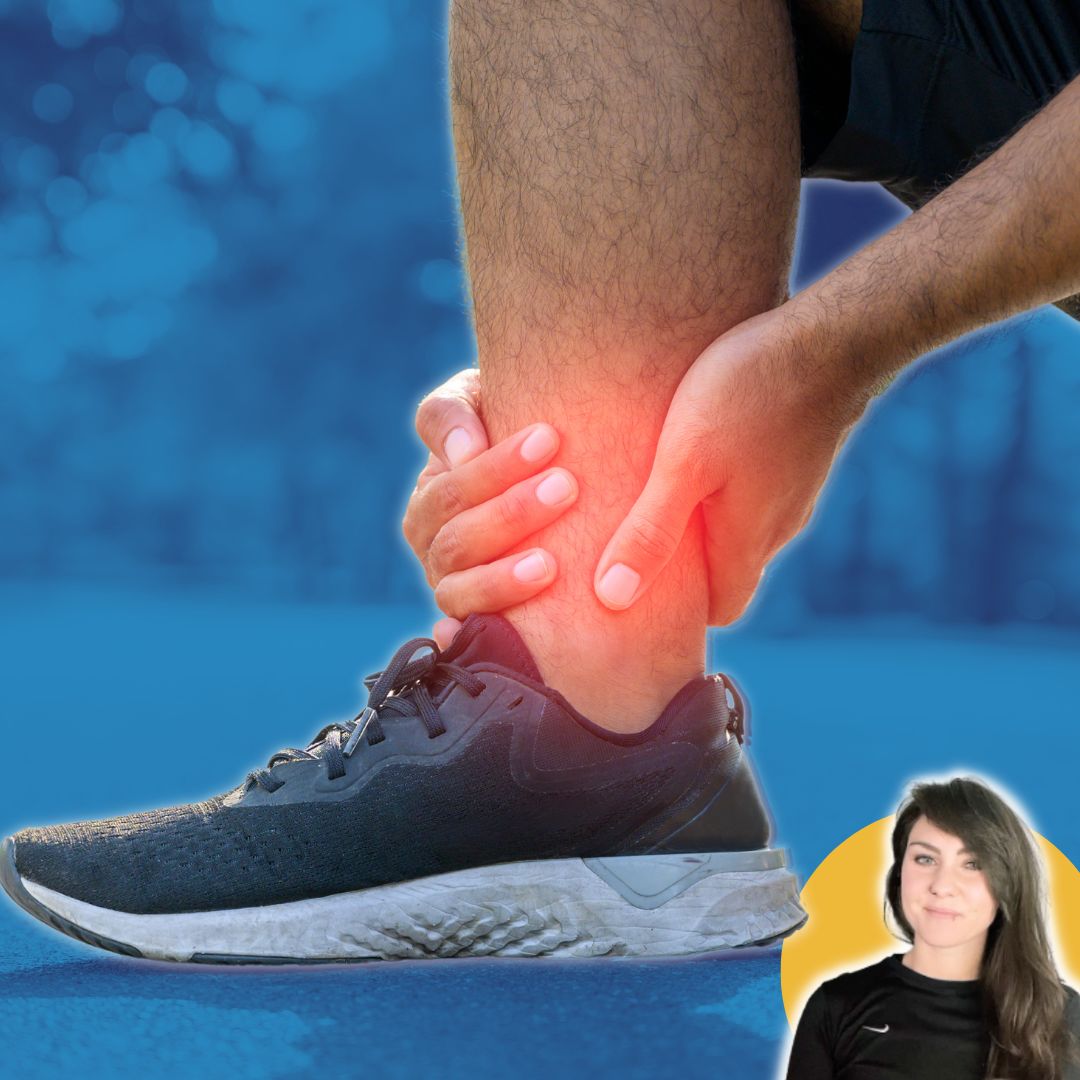
🦶Then all of a sudden, your right foot catches on a hidden root and your ankle folds under your weight.
.
😲You hear a stomach wrenching POP and as pain halts your progress, and your ankle begins to swell–ah the dreaded ankle sprain!
😭And saying that they aren’t fun is an understatement.
.
While ankle sprains happen in an instant, the healing process can take weeks, or even months depending on the grade of sprain.
.
While we can’t promise that you’ll come away from this article with 100% guaranteed ankle sprain prevention...
.
🏃♀️We can tell you that there are some awesome tools and exercises to keep you out there exploring on your own two (healthy) feet and ankles.

An ankle sprain, as defined by Physiopedia...
🦶In order to better understand the descriptions of ankle injury and movement, here are some terms that are helpful to know:
🦶Lateral ligament ankle sprains account for 85% of all sprains.
🦶Ankle sprains are classified as grade I, II, or III depending on severity and ligament damage.
🏃♀️So what's a runner to do?.
If you want to learn how to prevent ankle sprains, these three tips will help...

Ankle taping is one of the easiest and quickest ways to boost your confidence on trails.
.
Adding ankle tape to your arsenal of tools can be the difference between a stellar day of gnar-gnar and hiking vs. limping it out.
.
Mountain athlete and coach, Josh Ried, has been using this taping technique for the past four years.
.
It has spared him many an ankle sprain on the technical terrain of the Catskill Mountains where he cut his trail running teeth and out west in the high country of southwest Colorado!
.
“Ankle taping has been an absolute downhill game changer,” says Josh.

As a disclaimer, ankle tape might not totally prevent an ankle sprain.
.
But it can increase your ankle stability and reduce the likelihood that a sprain will be a severe one.
.
It’s also important to consider your ankle health as a whole, including its mobility and strength, so don’t miss the other two helpful tips to follow!
Here are several ways to tape your ankle:
There are so many types of athletic tape on the market, but the one that stands out for taping ankles to prevent sprains is Leukotape.
.
✅Leukotape will last through all kinds of tough trail conditions–stream crossings, sand, and sweaty feet included.
❌There are two downsides to Leukotape worth mentioning...
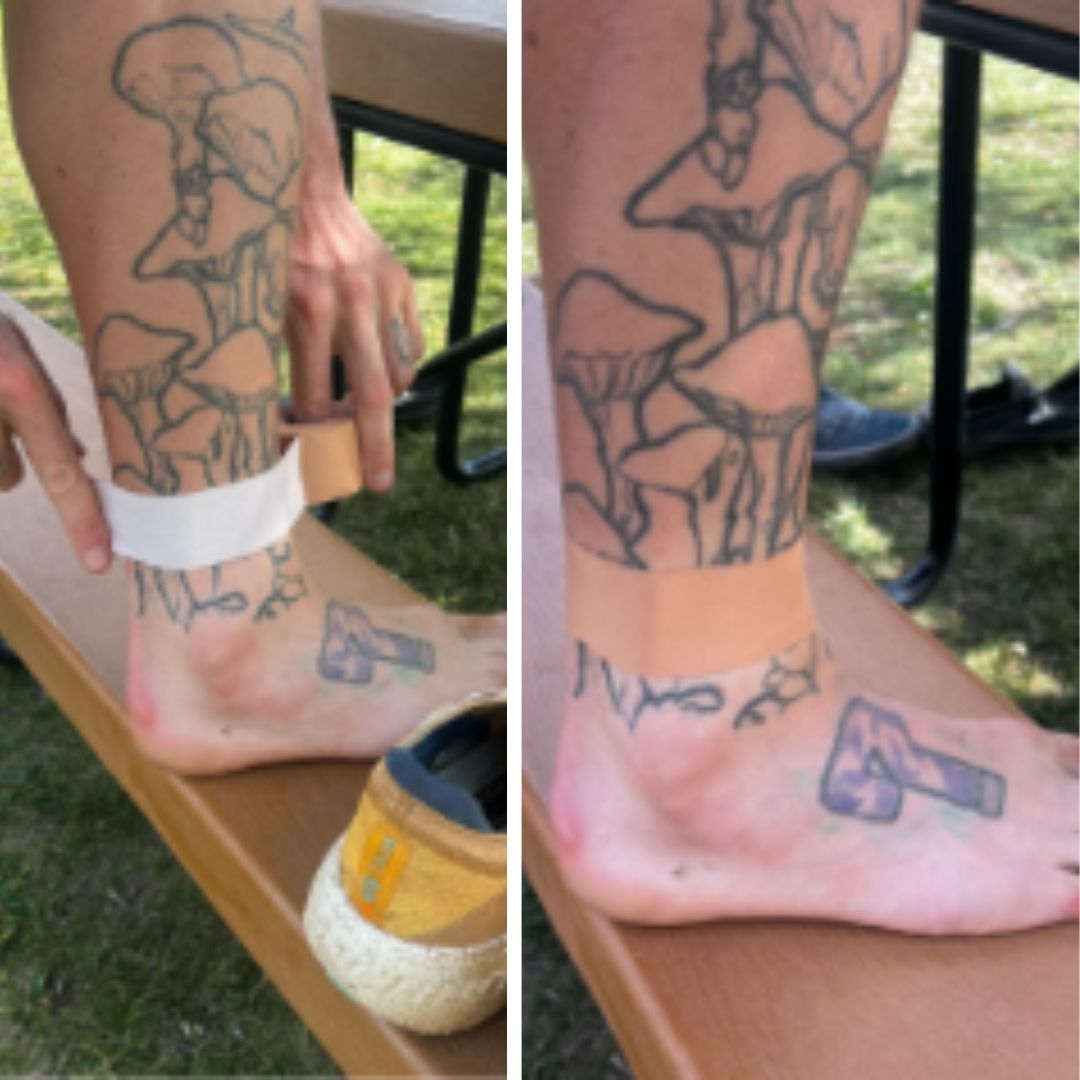
Below, we have two techniques–the half and full stirrup.
For both methods:
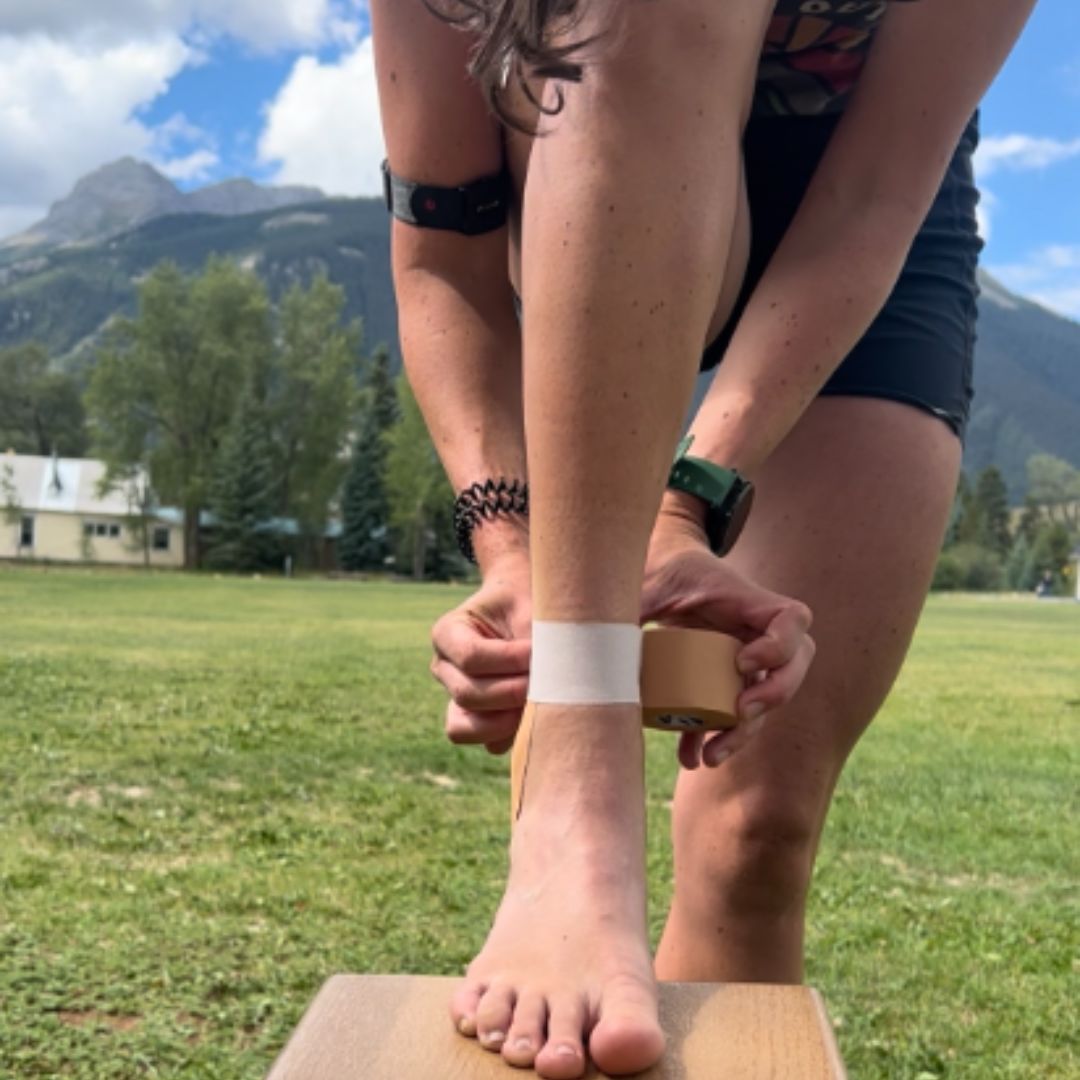
Tip: to make the tape stick in cooler conditions, create heat by rubbing the tape on major adherence points.
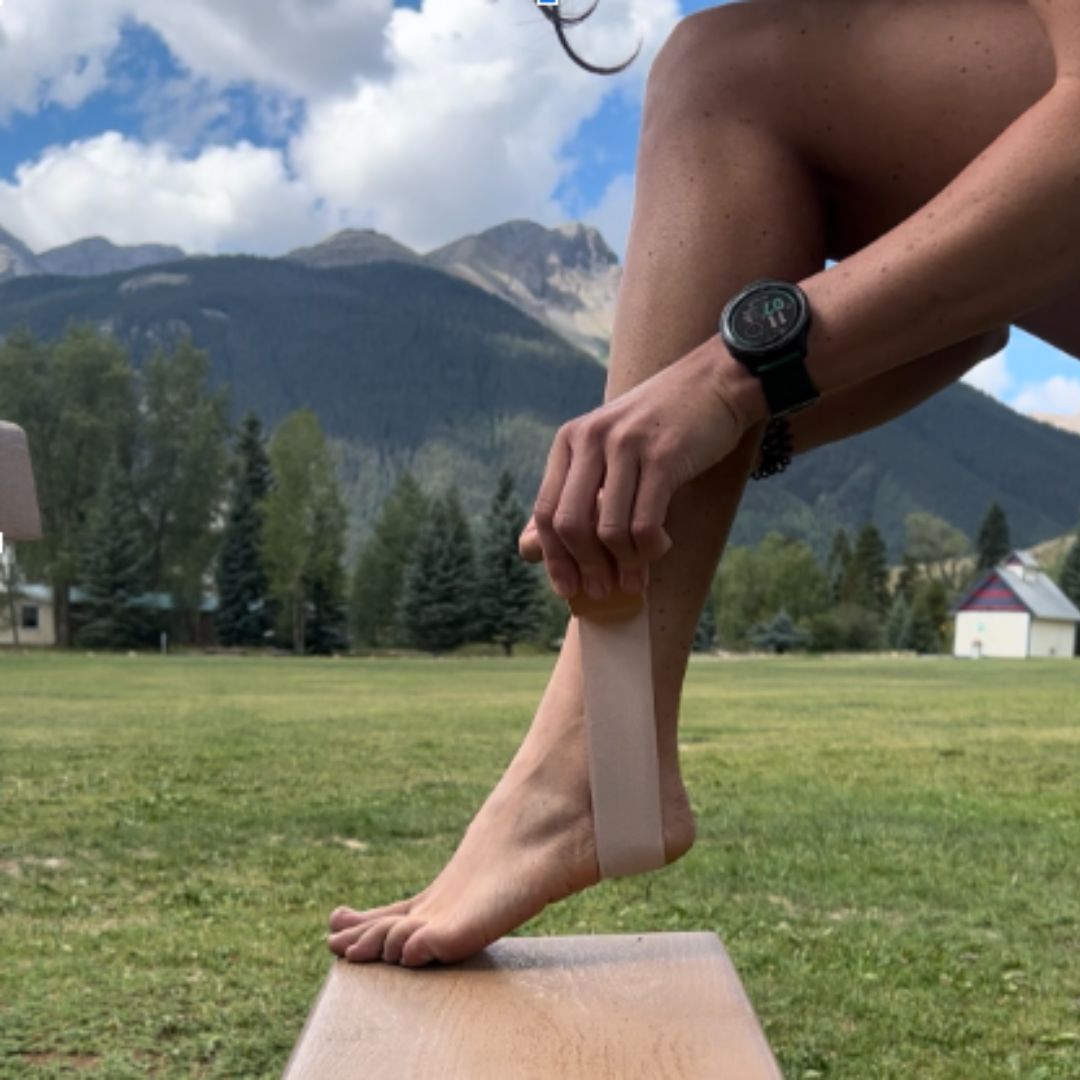
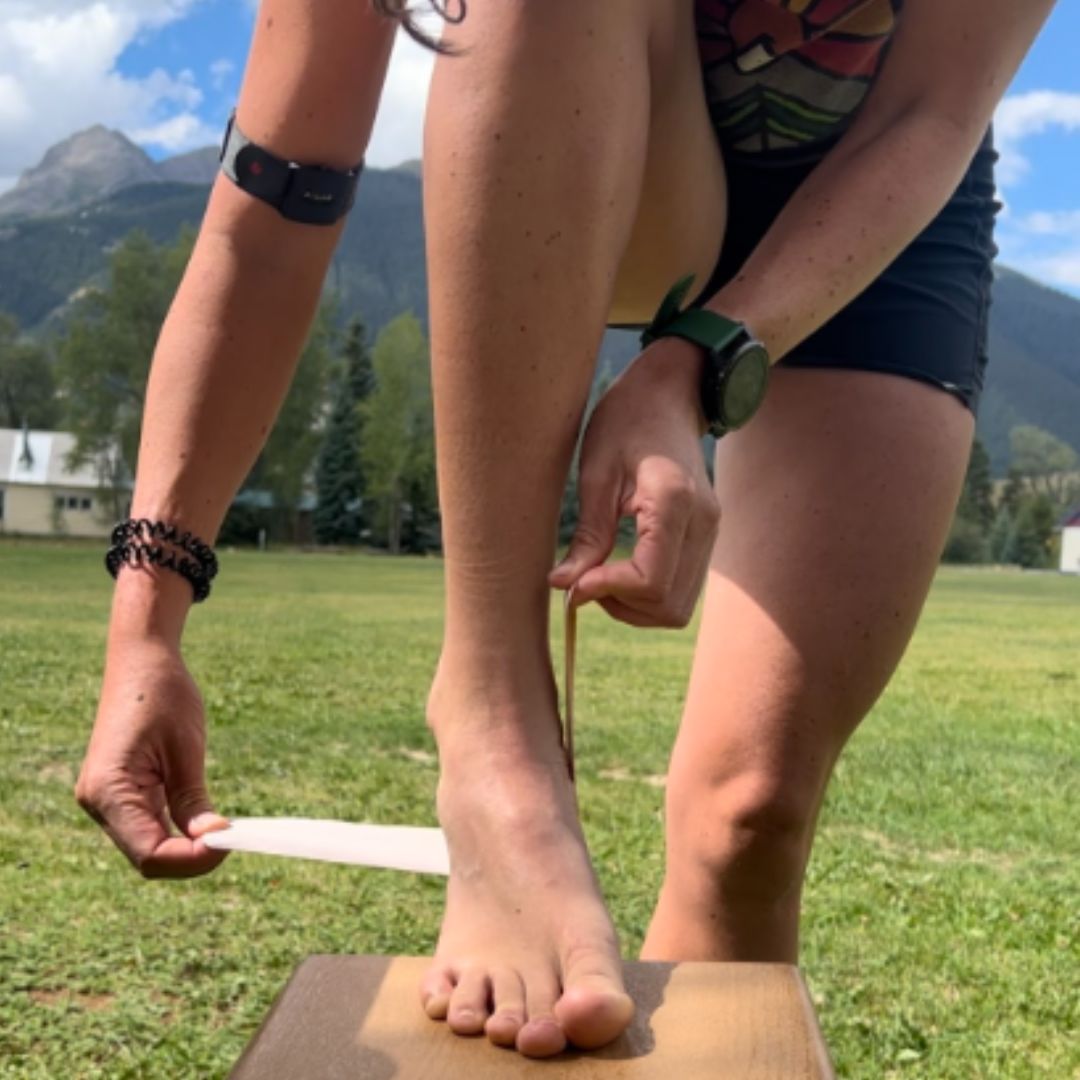
Start on the medial side and slightly invert your ankle as you adhere the tape to the bottom of your foot and medial side of the ankle.
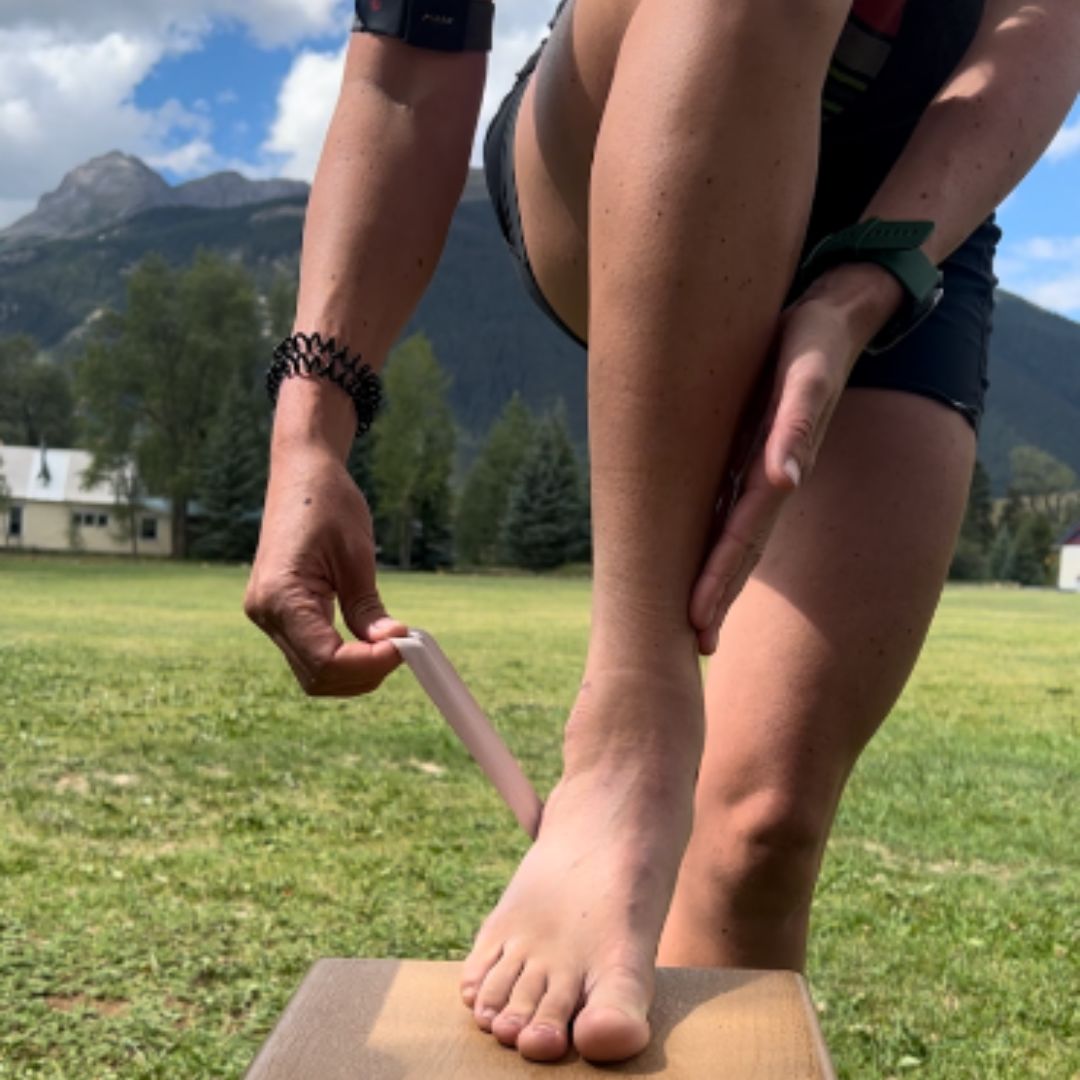
On the lateral aspect of your ankle, apply the tape as you slightly evert your ankle.
Double or triple the stirrup layers of tape depending on how much support you want.
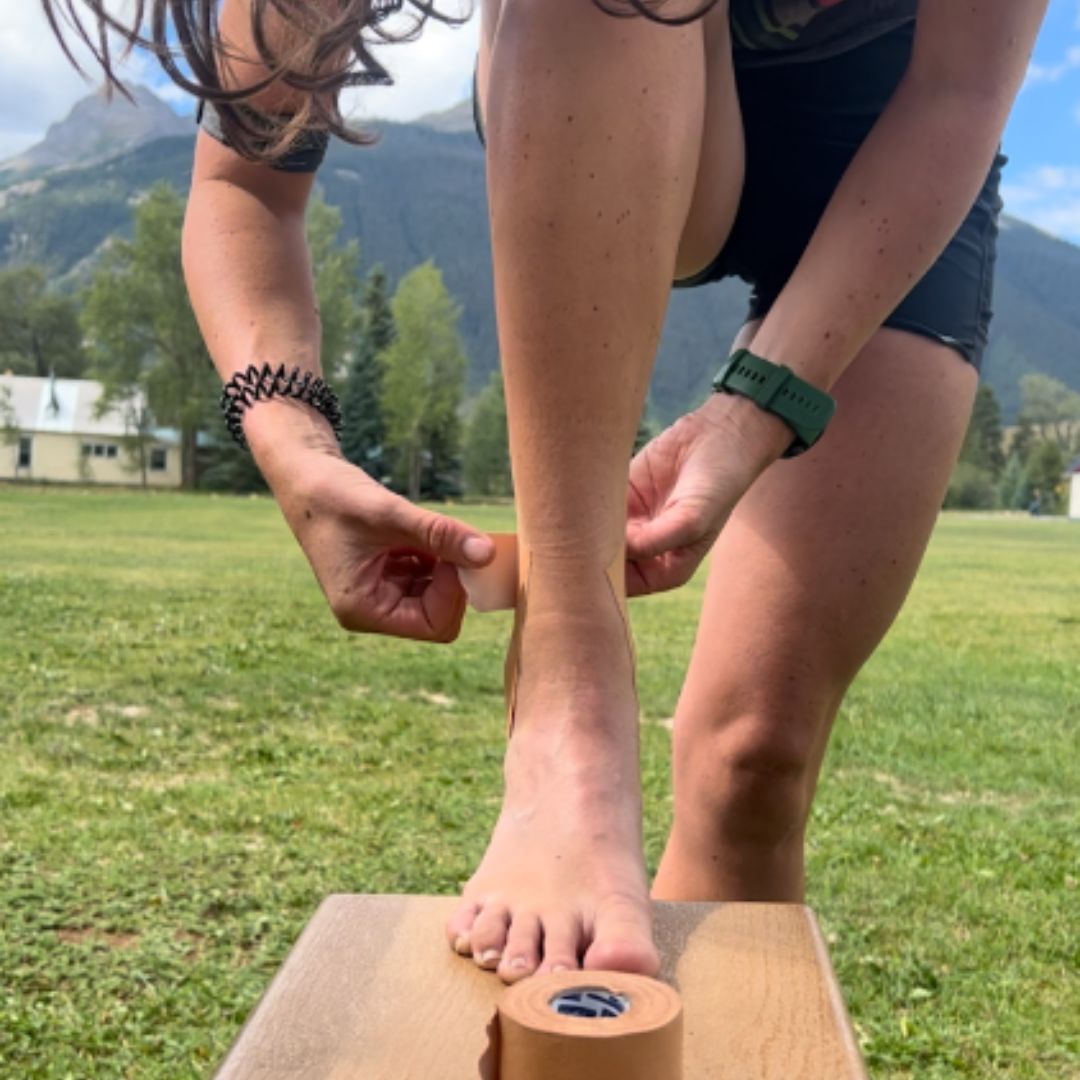
Apply a single reinforcement section of tape over the original anchor piece to cover the top of each end of the stirrup.
When your foot is on the ground you should feel support from the tape on the inside (preventing you from everting too far) and outside (preventing the more common inversion sprain) simultaneously.
You should not have much lateral movement of the ankle joint in either direction, but your range of motion for running should not be impinged.
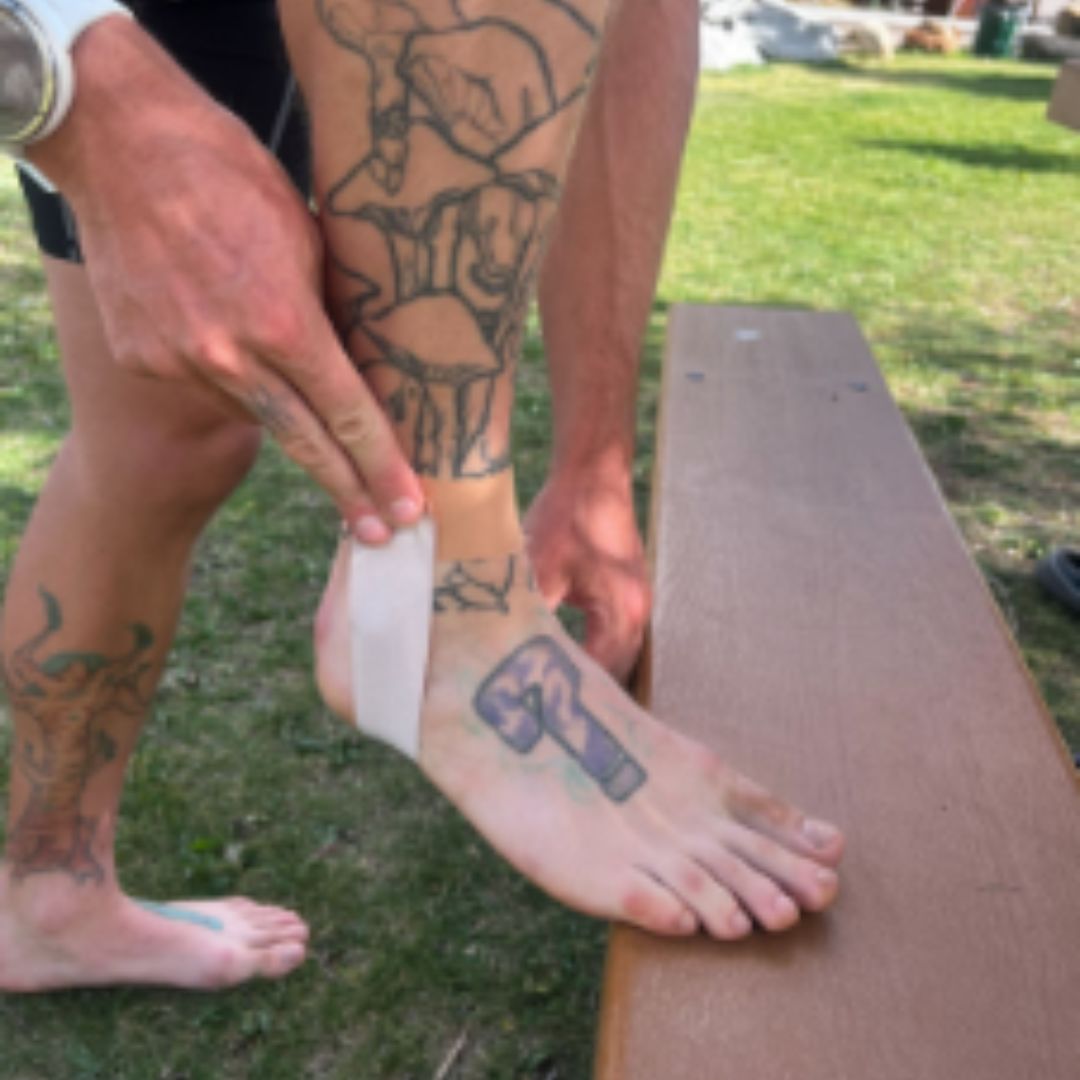
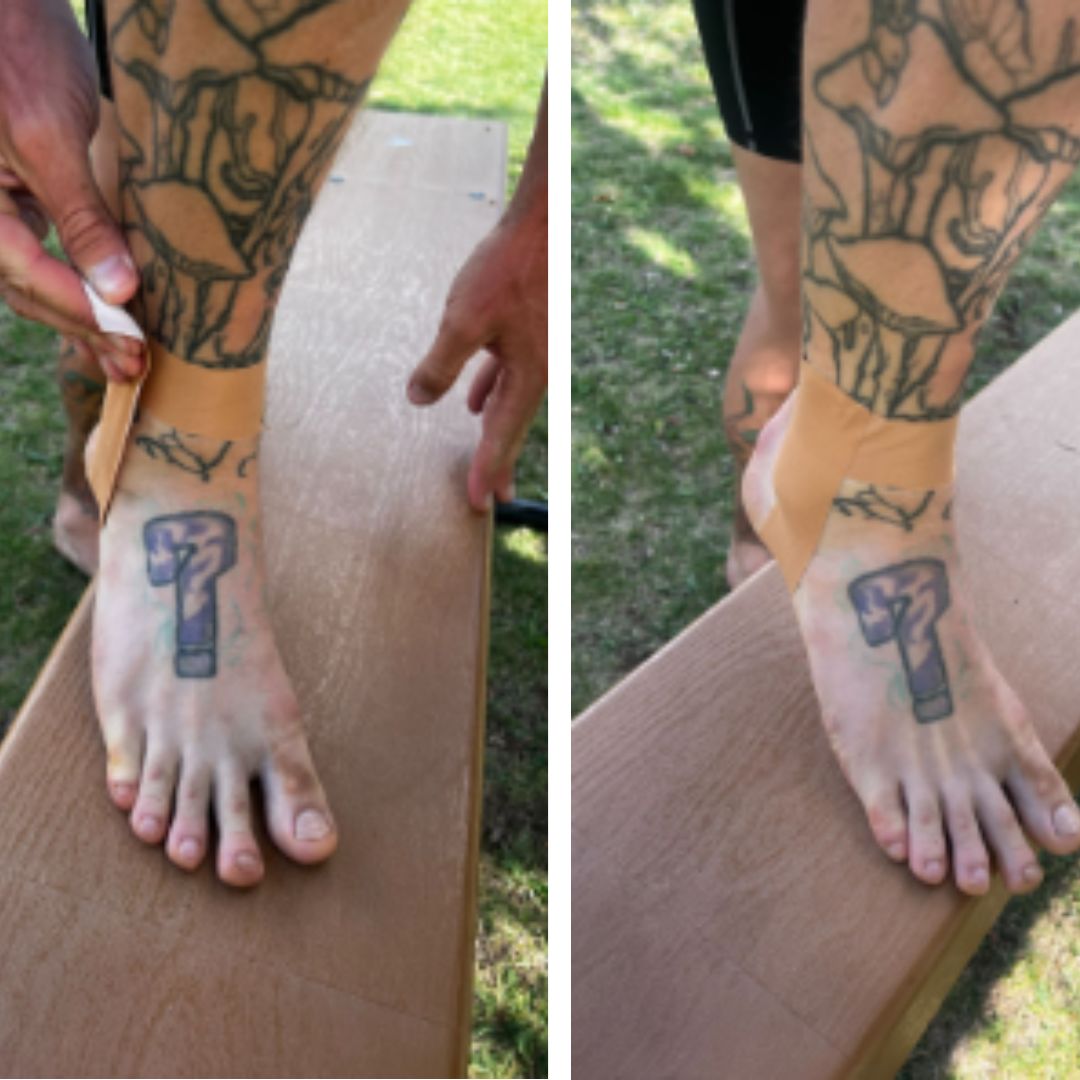
Before you set the tape on the ankle joint, slightly evert your ankle and adhere the tape.
Tip: wear crew socks or half crew socks to maximize how much of the tape is covered by your sock. This will make the tape job last even longer!
If you aren’t used to taping your ankles for support, don’t try it out on an important long run or race day.
.
Always trial new products and practices in advance of the big days!
.
It’s worth noting that adding tape to the bottoms of your feet may contribute to additional friction and the formation of blisters depending on the conditions and your hydration status.

Since running is largely considered a single-leg sport, balance training is essential for runners of trail and road alike.
🏃♀️In order to run:
Not only will a balance trainer increase your strength and coordination, but it will also boost your proprioception–the body’s ability to sense movement, action, and location.
.
👉According to this evidence-based review, proprioceptive training reduces the rates of ankle sprains in the athletic population, including those with and those without a history of ankle sprains!
Want to improve your balance for running?
There are two types of balance trainers that will level up your ankle game:
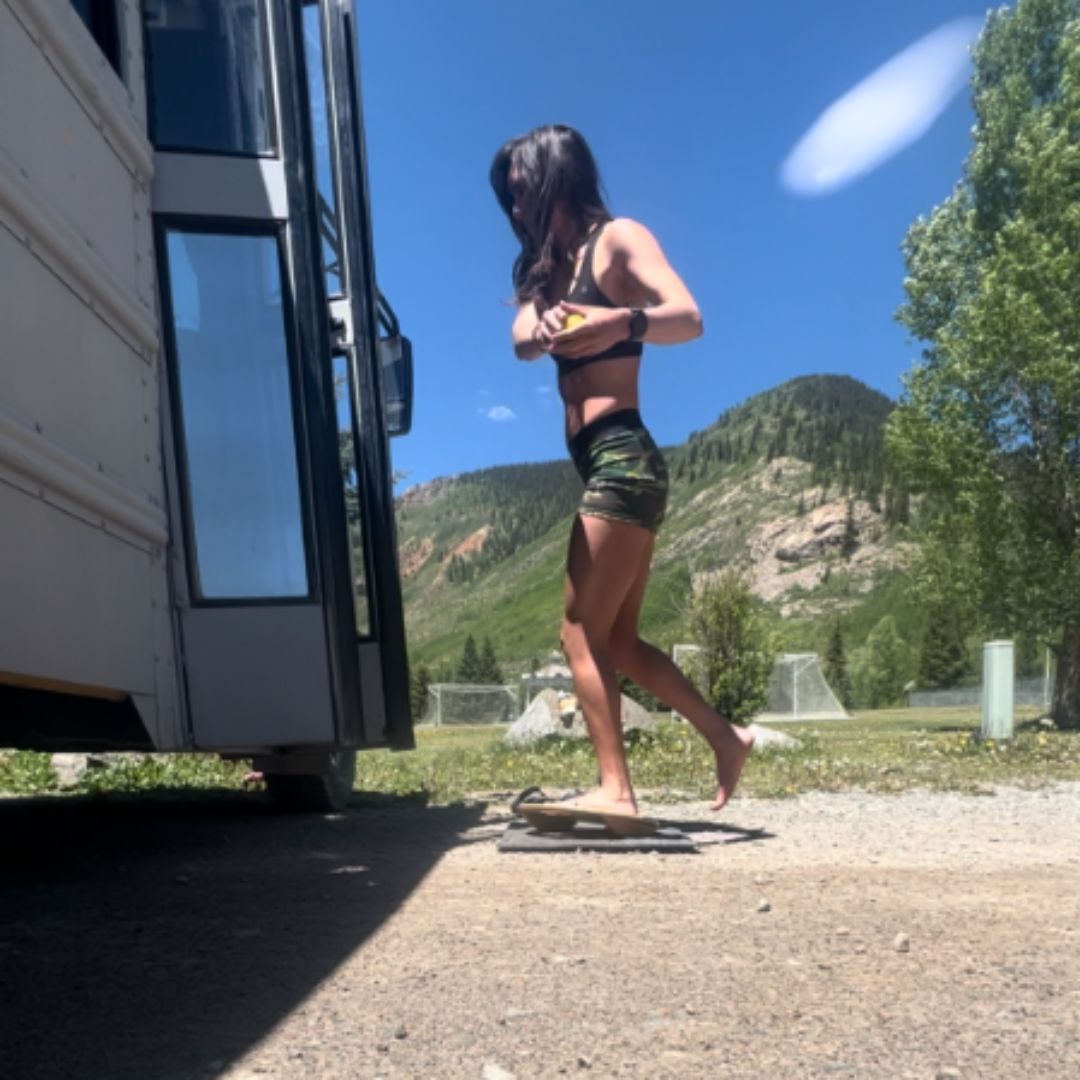
Rocker board: usually a wooden board with a rocker attached to the base. It allows you to rock forward/ backwards or side to side depending on the position of the board. Rocker boards are usually considered a good starting point to balance training.
Popular rocker boards:
Wobble board: a board designed with a fulcrum attached to the base in the shape of a half sphere. This allows the board to rock in any direction. The harder the fulcrum materials are, the more difficult it is to balance. Wobble boards are a bit more challenging than a rocker board.
Popular wobble boards:
Once you have your balance trainer of choice, simple single leg balances for 30-40s are a good place to start, gradually progressing hold times.
.
Balance trainers are easy to integrate into your day; try the single leg holds while you’re watching TV, folding laundry, checking emails, washing dishes, or listening to your favorite podcast.
.
After the holds become too easy you can add in dynamic movements like trunk rotations and single leg squats while balancing on the board. For an additional proprioceptive challenge, you can try tossing a ball between your hands while balancing.
.
Want a structured routine?
👇Check out these videos demoing a few different balance trainers!👇
On top of your balance training, having an arsenal of foot and ankle strengthening exercises can be a game changer for guarding against ankle sprains and other common running injuries.


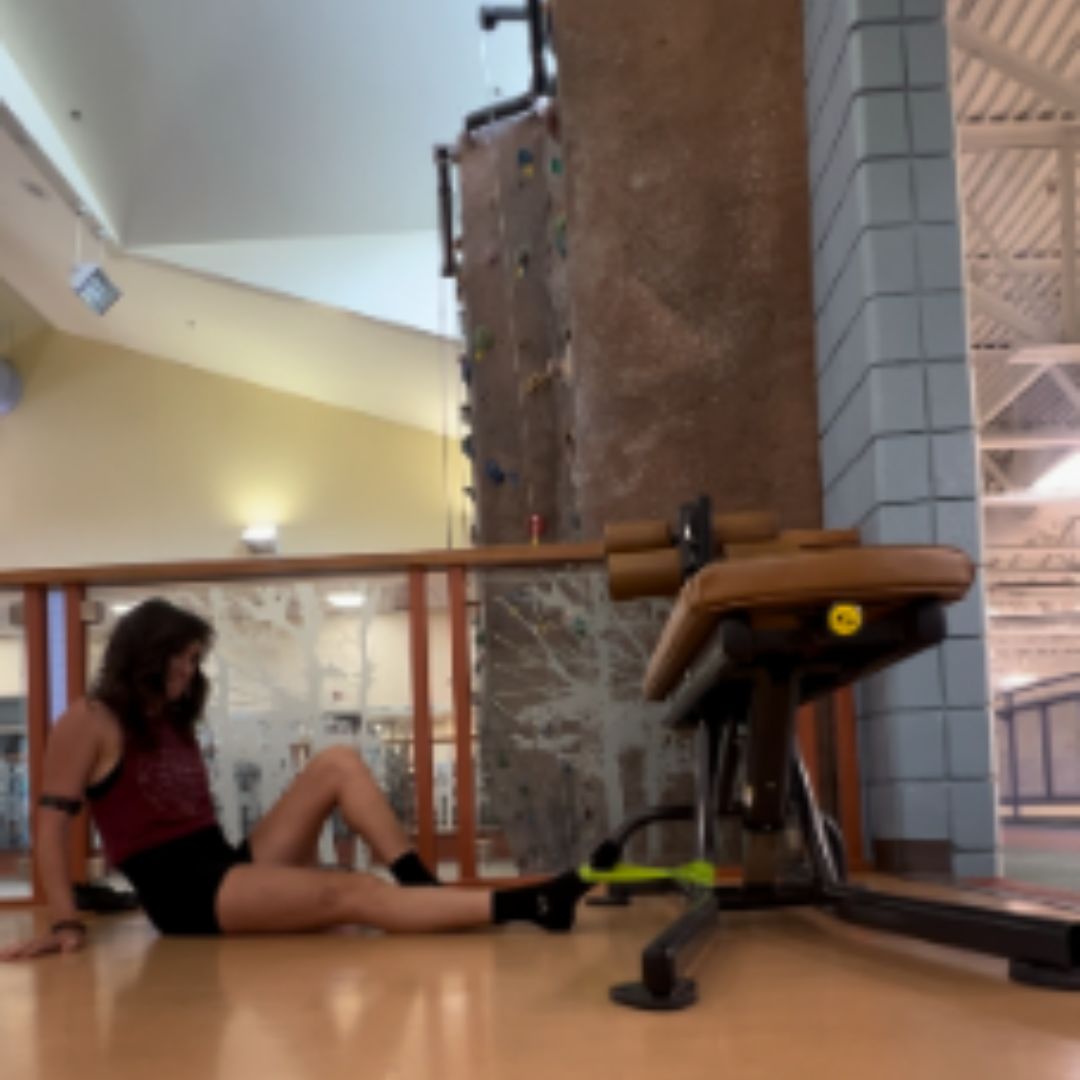
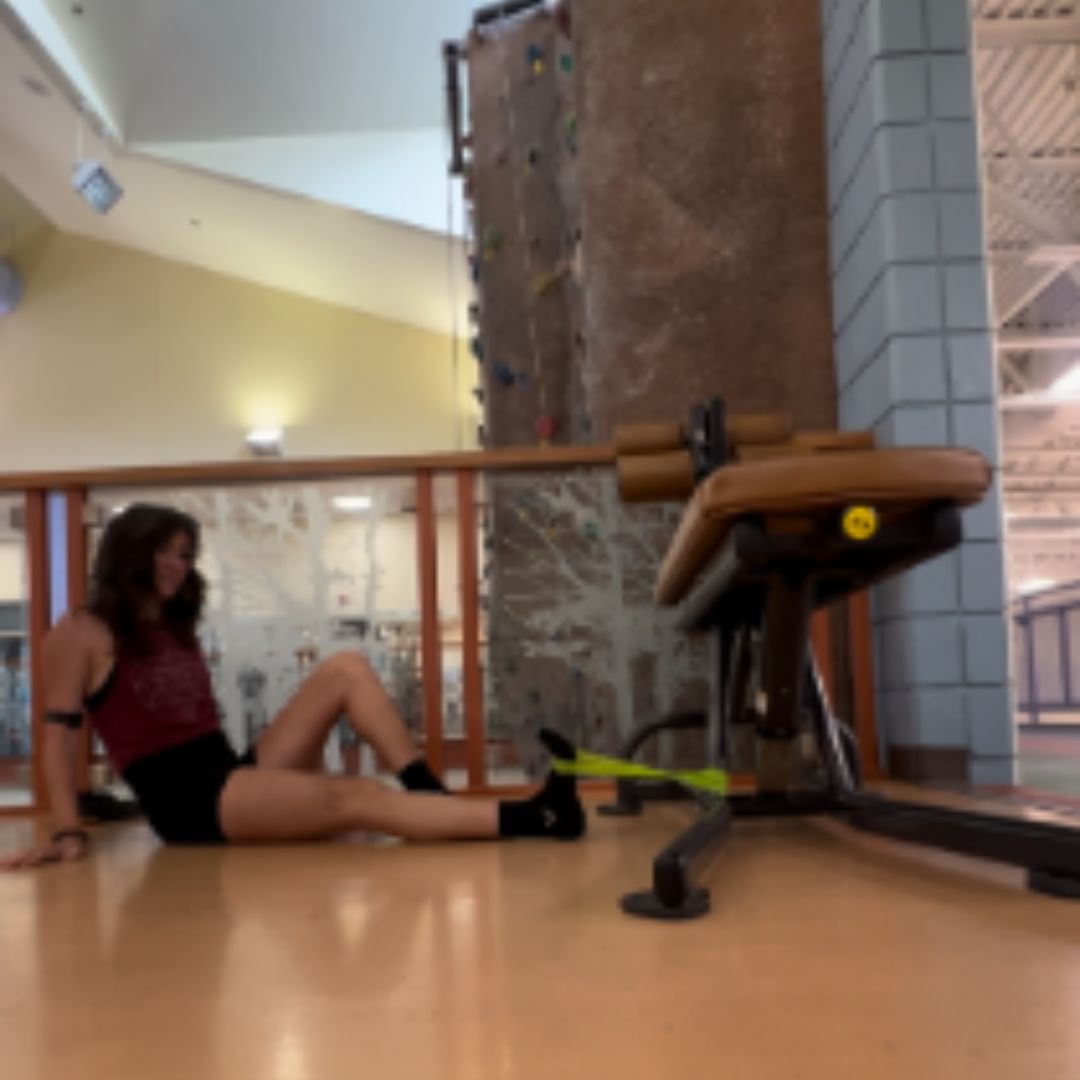
👉According to Runners Connect, this exercise improves the strength of your shin muscles (Tibialis Anterior) that plays a role in slowing the transition from heel strike to midstance and it also stiffens the ankle during mid-stance, which allows the foot/ankle to act like a spring with each stride.
Tip: Try to land softly on the balls of your feet to reduce impact on joints. Use your arms to propel your lateral jumps–just like you do with your arm swing while running!
To make it harder: jump wider or land on a slightly unstable surface like a balance pad or exercise mat

Tip: Choose a light enough weight that you can complete 10 reps of this exercise. Each rep is slow and controlled. The entire rep should take approximately 5-6s.
Be sure to save this article for later and trial out the:
With all three tips at your disposal, you are ready to tear up the trails with confidence!
👇Let us know what other ankle sprain prevention techniques you use in the comments!👇


Login to your account to leave a comment.


We Want to Give it to You!